


The Jupyter Notebook is an original web app for making and sharing computational documents. It is very popular among developers and organisations because of its simple and document focus experience. There are different ways to Install Jupyter Notebook on Windows. However, in this article, we have chosen the top 3 methods. This is with their step-by-step instructions to help you along the installation process.
Reasons to Install Jupyter Notebook on Windows
There are many reasons why most of the development community prefers Jupyter Notebook over other similar apps. The very first reason is the support. It can work with more than 40 programming languages such as Scala, Python, R, Julia, etc.
Not only that, you can share your notebooks with others using email, Dropbox, GitHub, and others. This makes collaboration very easy to achieve as well as helps beginners alongside their programming journey. With the recent update, you can now share documents using the Jupyter Notebook viewer.
Another reason for its success is the interactive output. Your written code can give out rich and interactive outputs. This includes HTML, LaTex, videos, images, and custom MIME types. Other than that you can see direct results by running code cells one by one. This helps you see all the changes made in real-time as you go.

Lastly, you can export the notebook you made in different file types like PDF, HTML, and many more. It is especially useful for those who don’t have the app available on their system. Also, it is an open-source tool which means you don’t have to pay any hefty subscription fee or purchase it.
Different Ways to Install Jupyter Notebook on Windows
Now we know what Jupyter does, let’s see how you can install Jupyter Notebook on Windows. All of these methods are easy to follow through and do not require any preparation beforehand. Therefore, just follow the instructions in order.
Method 1: Using Anaconda
Just like Jupyter, Anaconda is an open-source toolbox that makes it easy to set up and manage data or build computer programs. This can be consider as one of the easiest ways to install Jupyter on your Windows computer system. Here are the steps you need to follow:
- Firstly, download “Anaconda” on your device.
- Open a browser and look up the official webpage online.
- After discovering it, download the file and save it to your computer’s hard drive.

- After that, open the package’s zip file and look for the installation instructions file.
- Double-click it and follow the instructions one at a time.
- Select the disc and location for installation.
- Now, open “Anaconda Navigator” on your system.
- Look for “Jupyter Notebook” in the list of apps available.

- Lastly, click on it and it will launch the app directly from there.
Method 2: Using PIP (Python Package Manager)
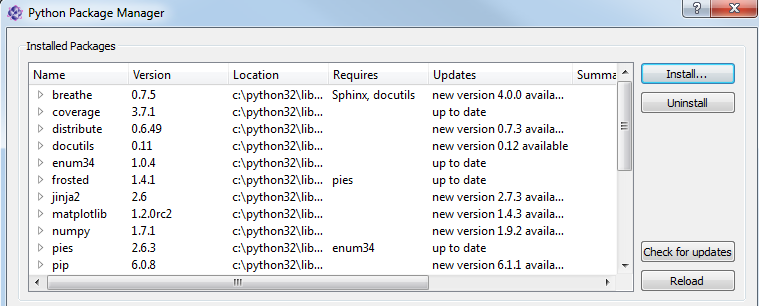
If you use Python, you are aware of the significance of PIP. It enables you to manage and update packages in addition to installing them. The installation is straightforward. Jupyter Notebook can also be installed on your computer via Pip and the instructions are as follows:
- Press “Win + R” keys at the same time to open Run Window.
- Type “cmd” and press Enter key. This will open Command Prompt window.
- Now you need to type this code followed by Enter key.
- “python -m pip install jupyter”

- Wait for it to complete execution.
- Open the app by using this command line.
- “jupyter notebook”

- This will take you to your default browser from where you can start using the app.
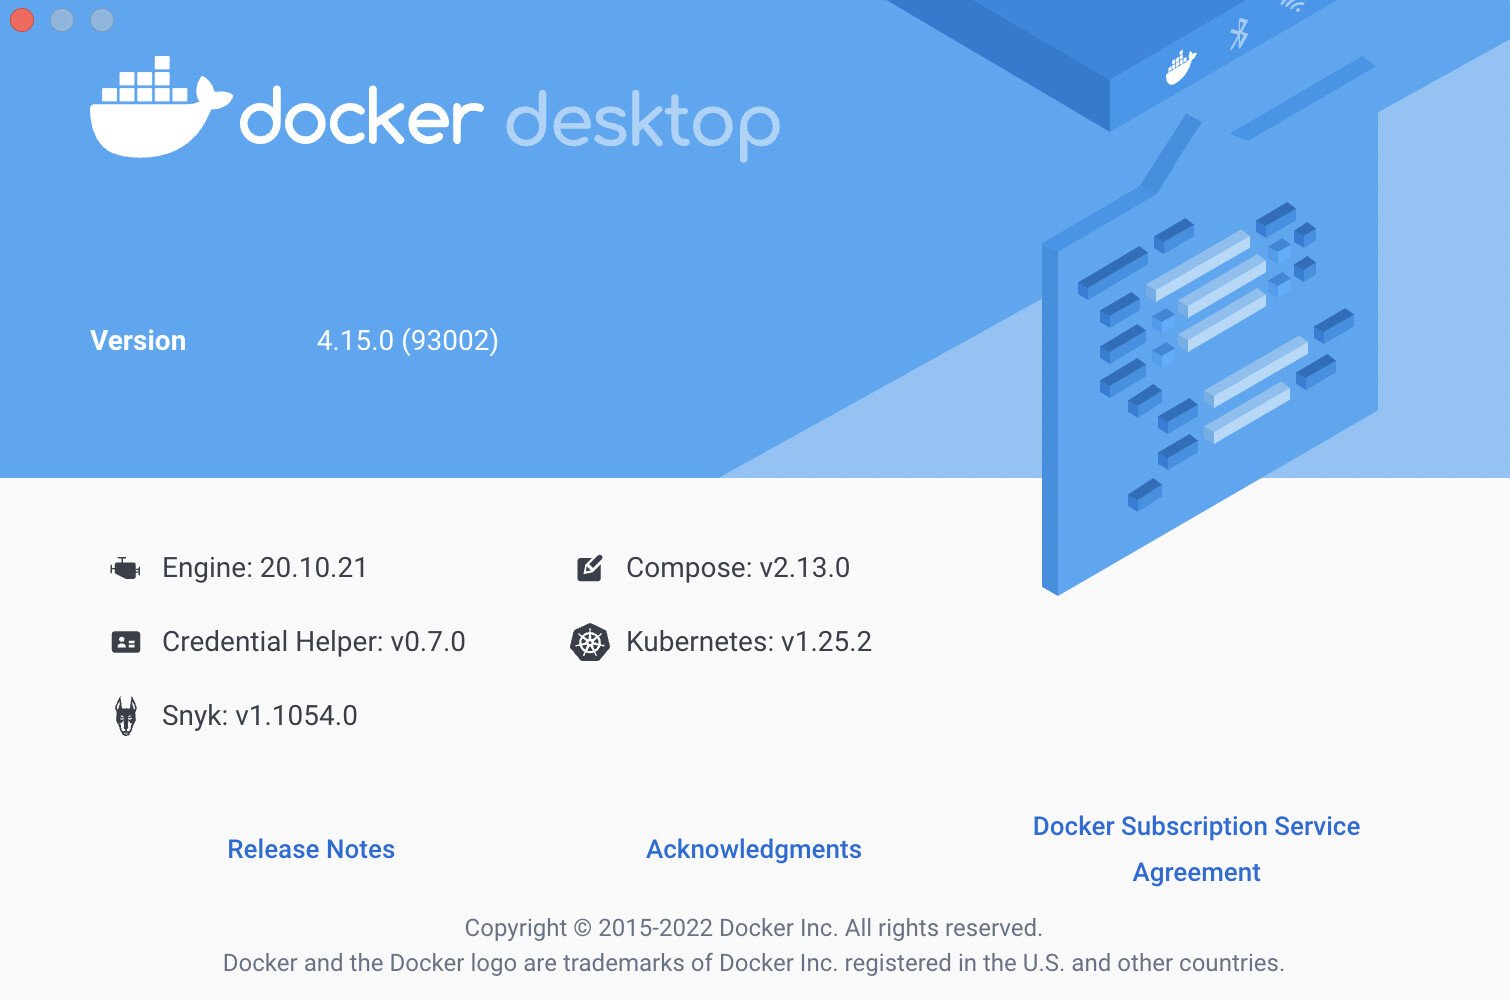
Method 3: Using Docker
If you don’t want to mess your private or work Windows computer system then you can opt for Docker to install Jupyter Notebook. It will create a separate area from where you can access and use the notebook it its full extent without having to worry about anything else. Just follow these steps in order:
- Open any browser and search for “Docker Download” in the address bar.
- Go through the search results and find Docker’s official website.
- On the webpage, find the link to download it locally on your system.
- After you have downloaded, run the installation package.
- Once you are done with its installation, open Run Prompt.
- Type “cmd” to open Command Prompt window.
- Now type this code and press Enter.
- “docker pull jupyter/notebook”
- Once done, type another command to launch the notebook on your Windows device.
- “docker run -p 8888:8888 jupyter/notebook”
- Open the web browser once again.
- In the address bar, paste this line.
- http://localhost:8888

- Now you can easily use notebook without external factors affecting it.
Conclusion
If you are someone who works with data science then you how difficult it can become to work and share computational documents. However, with Jupyter you can do all of these with ease and you don’t have to pay anything because it is an open-source platform. Read the article above, if you want to Install Jupyter Notebook on Windows. There are multiple methods with different installation processes so you can choose according to your own preference.
Read Also: Blockchain Gaming: What Is an IGO?


